Replace the ultrasonic metal welding step
Replace the ultrasonic metal welding step
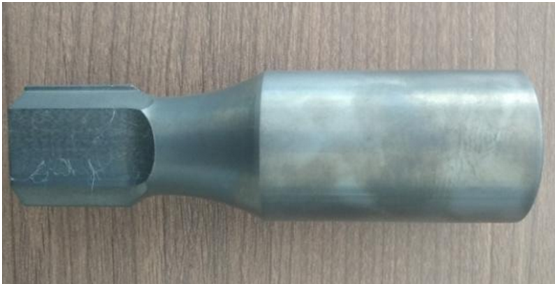
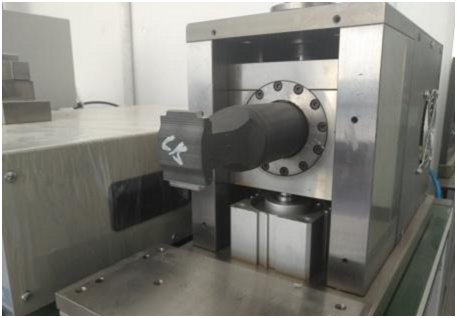
In the actual production operation, customers often face the situation of changing the ultrasonic welding head (mold) by themselves, so how can the welding head be installed quickly and without error? Let's learn it with me.
(1)First, open the working air pressure source of the ultrasonic equipment to ensure the normal index of the equipment pressure gauge
(2)Use a special wrench to remove the original welding mold on the equipment and install the ultrasonic mold that needs to be welded (clockwise loose, remember to tighten). Pay attention to tightening the screw of the mold first

(3)Turn on the power of the ultrasonic device, turn on the start button and wait for five seconds, turn off the power, then press the sonic detection button on the controller, and hear the machine emit ultrasound (the sound should be crisp, no hoarse and extra noise), if the sound is hoarse or Scream, you must check the mold for cracks or looseness, and take countermeasures
(4)Loosen the two fastening handles behind the rack and rock the machine head up to a certain height. (depending on product height)
(5)Turn off the air supply. (The air pressure controller adjusts the air pressure value to “zero”)
(6)Place the product to be welded on the bottom mold and ensure that the mold is closed
(7)Pull down the entire mold vibration tube, make the upper mold close to the bottom mold, shake the head lifter, press the upper mold to the product, and keep the product in line with the upper and lower molds
(8)Apply air pressure to 0.1mpa, select the switch to manual, press the two green start buttons to lower the mold and press the product

(9)Shake the lifter to keep the limit screw and the vibrating cylinder at a distance of 1 mm. (Add or subtract as many products as needed)
(10)Tighten the rack fastening handle, fix the bottom mold, and press the red emergency stop button to raise the nose
(11)Select the switch to fluctuate automatically, adjust the welding parameters and time of the product, and prepare for production.
If the product is unbalanced or offset during production, it is necessary to adjust the level adjustment by adjusting the horizontal nut. Suppose the right side of the welded product is over-melted (overweight), and the left side (too light) can be adjusted as follows. . A similar situation and so on.
© Copyright: 2026 Hangzhou Altrasonic Technology Co.,Ltd All Rights Reserved

IPv6 network supported
Scan to WhatsApp
