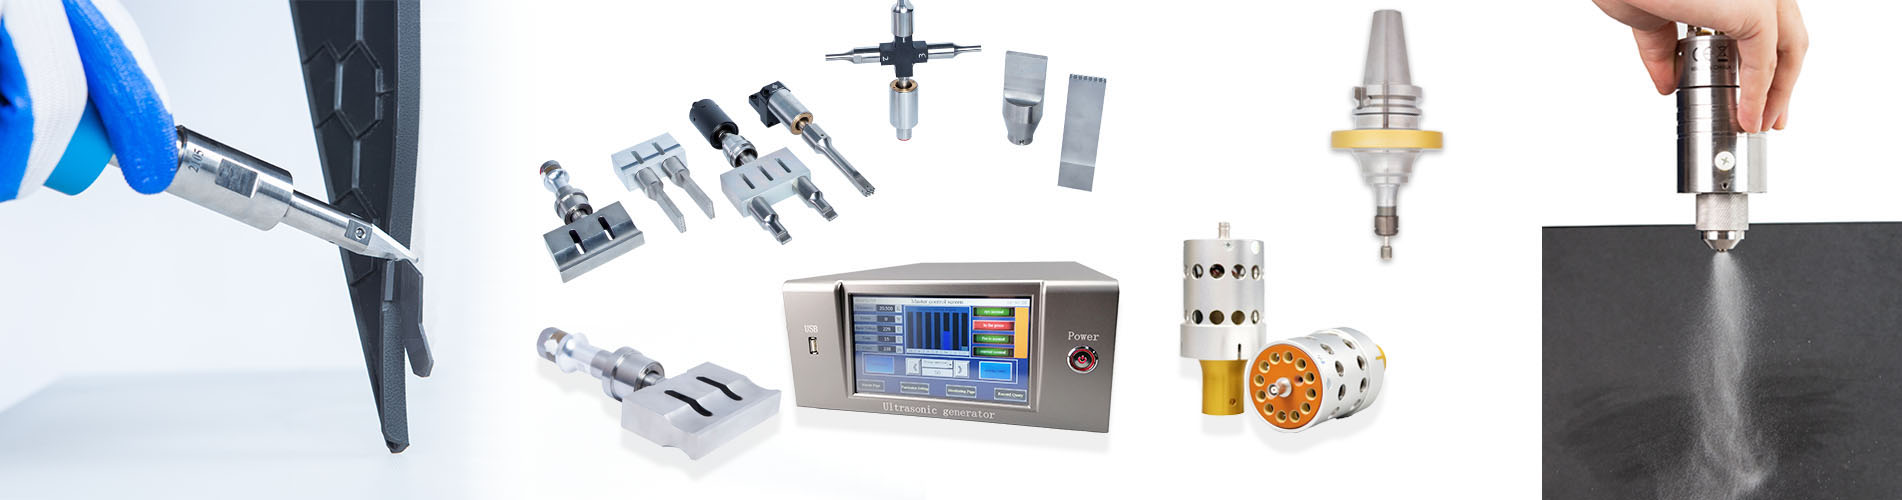
1. Install the mold
1. First wipe the transducer (CONE), mold (HORN) and connecting screw with alcohol or gasoline, and then smear the connecting screw, transducer and mold with a thin layer of yellow grease before welding The head screw is locked on the welding head. Note: If the joint surface of the transducer and the mold is damaged, the transmission efficiency of vibration will decrease, so care should be taken to maintain it.
2. Tighten the 4 welding head level adjustment screws to fix the transducer at the middle position of its rotation range.
3. Screw the mold into the transducer by hand until it can't rotate.
4. Tighten the mold with a mold lock wrench (about 300Kg/cm torque). At this time, pay special attention to not allowing the transducer to rotate to prevent the tip from twisting. (If rotation is found, the 4 horizontal adjustment screws should be tightened more).
2. Mold adjustment
1. Adjustment preparation:
(1) Turn on the air pressure source and adjust the pressure to 2kg/C㎡;
(2) Turn on the main power switch on the vibration box, and the power indicator light is on.
2. Die direction adjustment:
Loosen the 4 horizontal adjustment screws, align the orientation of the mold with the work object, and then press the body lift switch to press the welding head against the work object.
3. Mold level adjustment:
Gently pat around the mold to make the mold match the work object, and fix 4 horizontal adjustment screws on average.
4. Adjust the mold height position:
If the welding of the work requires preparation for the height, adjust the lowest point of the fine-tuning screw to the most appropriate position of the lifting cylinder after welding.
5. Welding preparation of ultrasonic plastic welding machine:
According to the condition of the work, set the number of output stages in the appropriate position. (The life should be maintained from the low stage count). Press the sonic check switch again, and turn the sonic adjustment screw, so that the indication of the amplitude meter is at the lowest scale. Note: Press the sonic check switch and press it for three seconds to stop the one-second intermittent mode to maintain the life of the vibrator.

 English


 Floor 1st, Building 2#, NO.2626 Yuhangtang Road, Yuhang District


